[Node] Socket.Io로 구현해보는 간단한 웹 채팅
socket 통신이란 http통신과 달리 서버와 클라이언트가 양방향으로 통신을 하는 방식이며
이러한 구조를 통해 실시간 채팅앱을 만들어보겠다.
일단 서버가 필요함으로 express를 사용할 것이며 양방향 socket통신을 하기 위해 socket.io와 http를 이용할 것이다.
npm install express socket.io htpp --save
app.js
var app = require('express')();
var server = require('http').createServer(app);
// http server를 socket.io server로 upgrade한다
var io = require('socket.io')(server);

// localhost:3000으로 서버에 접속하면 클라이언트로 index.html을 전송한다
app.get('/', function (req, res) {
  res.sendFile(__dirname + '/index.html');
});

io.on('connection', function (socket) {
  //socket전송이 오게되면 다시 클라이언트로 해당 메시지 socket통신을 하여 보내준다.
  socket.on('chat message', function (msg) {
    io.emit('chat message', msg);
  });
});

server.listen(3000, function () {
  console.log('Socket IO server listening on port 3000');
});
index.html
<!doctype html>
<html>
  <head>
    <title>Socket.IO chat</title>
    <style>
      * {
        margin: 0;
        padding: 0;
        box-sizing: border-box;
      }
      body {
        font:
          13px Helvetica,
          Arial;
      }
      form {
        background: #000;
        padding: 3px;
        position: fixed;
        bottom: 0;
        width: 100%;
      }
      form input {
        border: 0;
        padding: 10px;
        width: 90%;
        margin-right: 0.5%;
      }
      form button {
        width: 9%;
        background: rgb(130, 224, 255);
        border: none;
        padding: 10px;
      }
      #messages {
        list-style-type: none;
        margin: 0;
        padding: 0;
      }
      #messages li {
        padding: 5px 10px;
      }
      #messages li:nth-child(odd) {
        background: #eee;
      }
      #messages {
        margin-bottom: 40px;
      }
    </style>
  </head>
  <body>
    <ul id="messages"></ul>
    <form action=""><input id="m" autocomplete="off" /><button>Send</button></form>
    <script src="/socket.io/socket.io.js"></script>
    <script src="https://code.jquery.com/jquery-1.11.1.js"></script>
    <script>
      $(function () {
        var socket = io();
        $('form').submit(function () {
          // socket 메시지 서버로 전달
          socket.emit('chat message', $('#m').val());
          $('#m').val('');
          return false;
        });

        // 서버로부터 받은 메시지를 화면에 보여준다.
        socket.on('chat message', function (msg) {
          $('#messages').append($('<li>').text(msg));
          window.scrollTo(0, document.body.scrollHeight);
        });
      });
    </script>
  </body>
</html>
위와 같이 모두 작성 후 node app.js로 서버를 실행하고
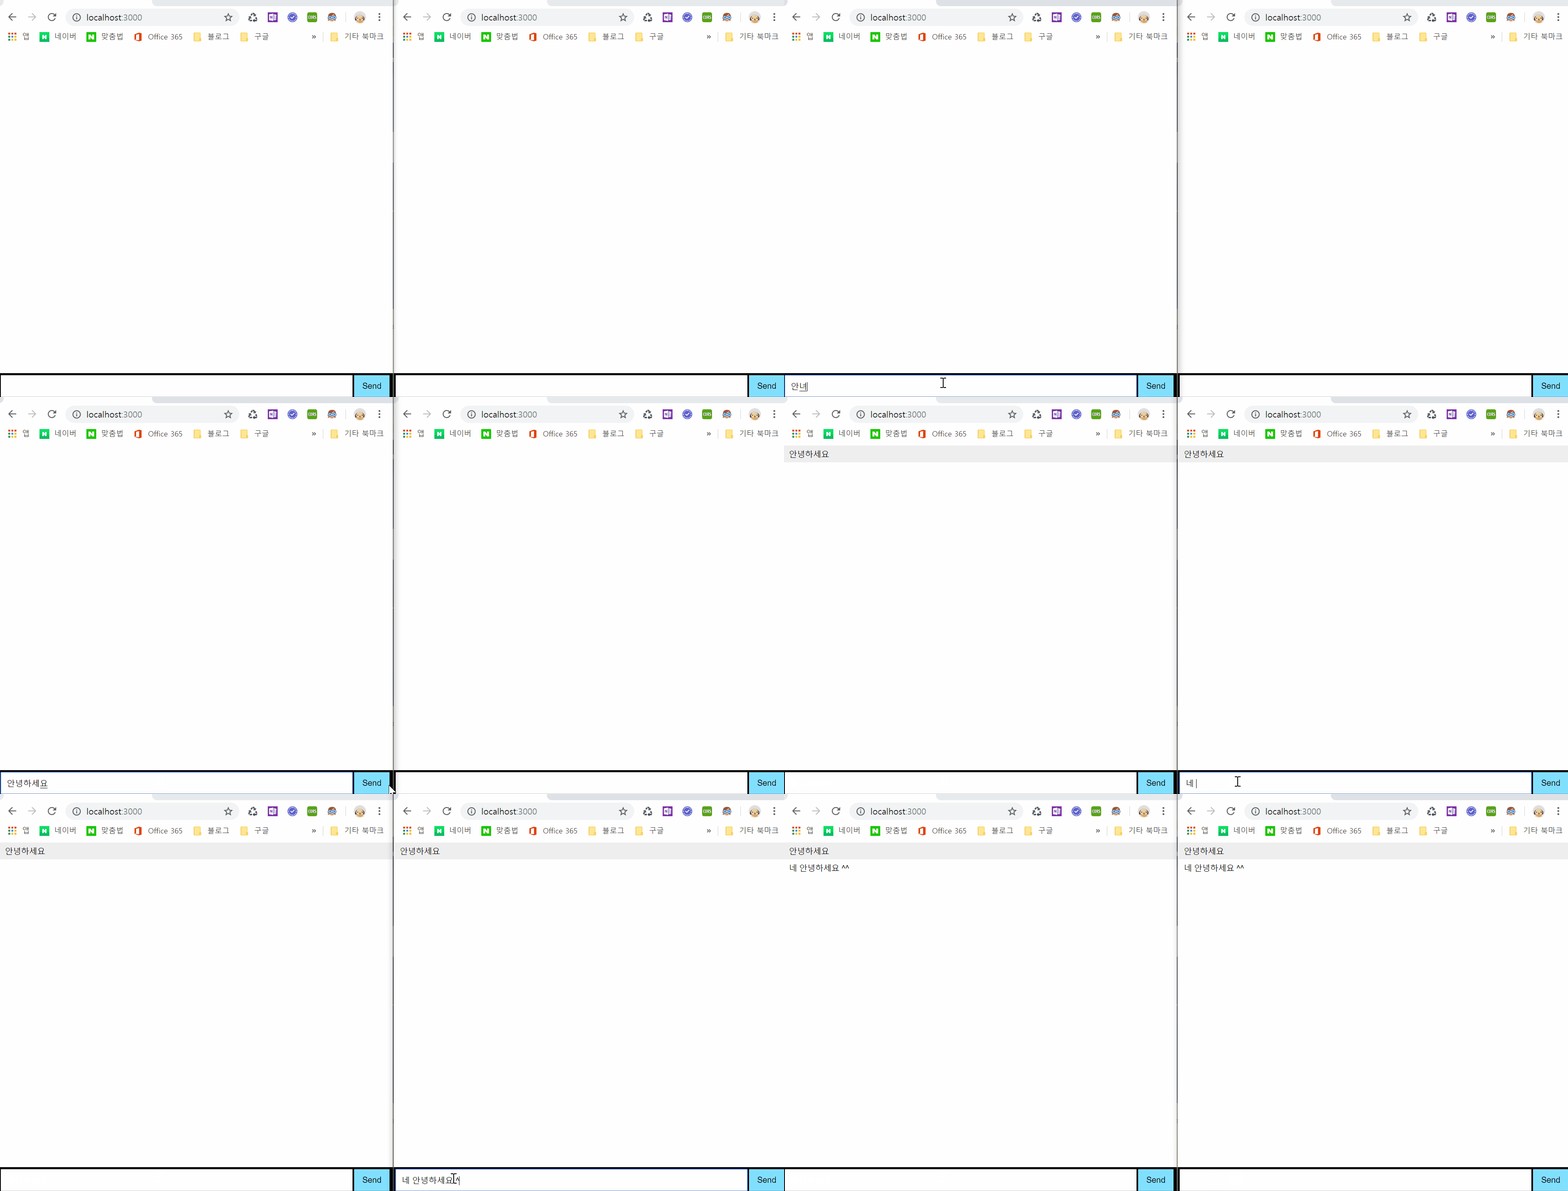
두개의 브라우저를 띄운후 똑같이 localhost:3000을 입력해준뒤 메시지를 입력하면 아래와 같이 동작하는걸 볼 수 있다.
